Building A Raised Garden Bed: Step-by-Step Guide With Do it Best
General
Posted by: Witt Do it Best
2 months ago
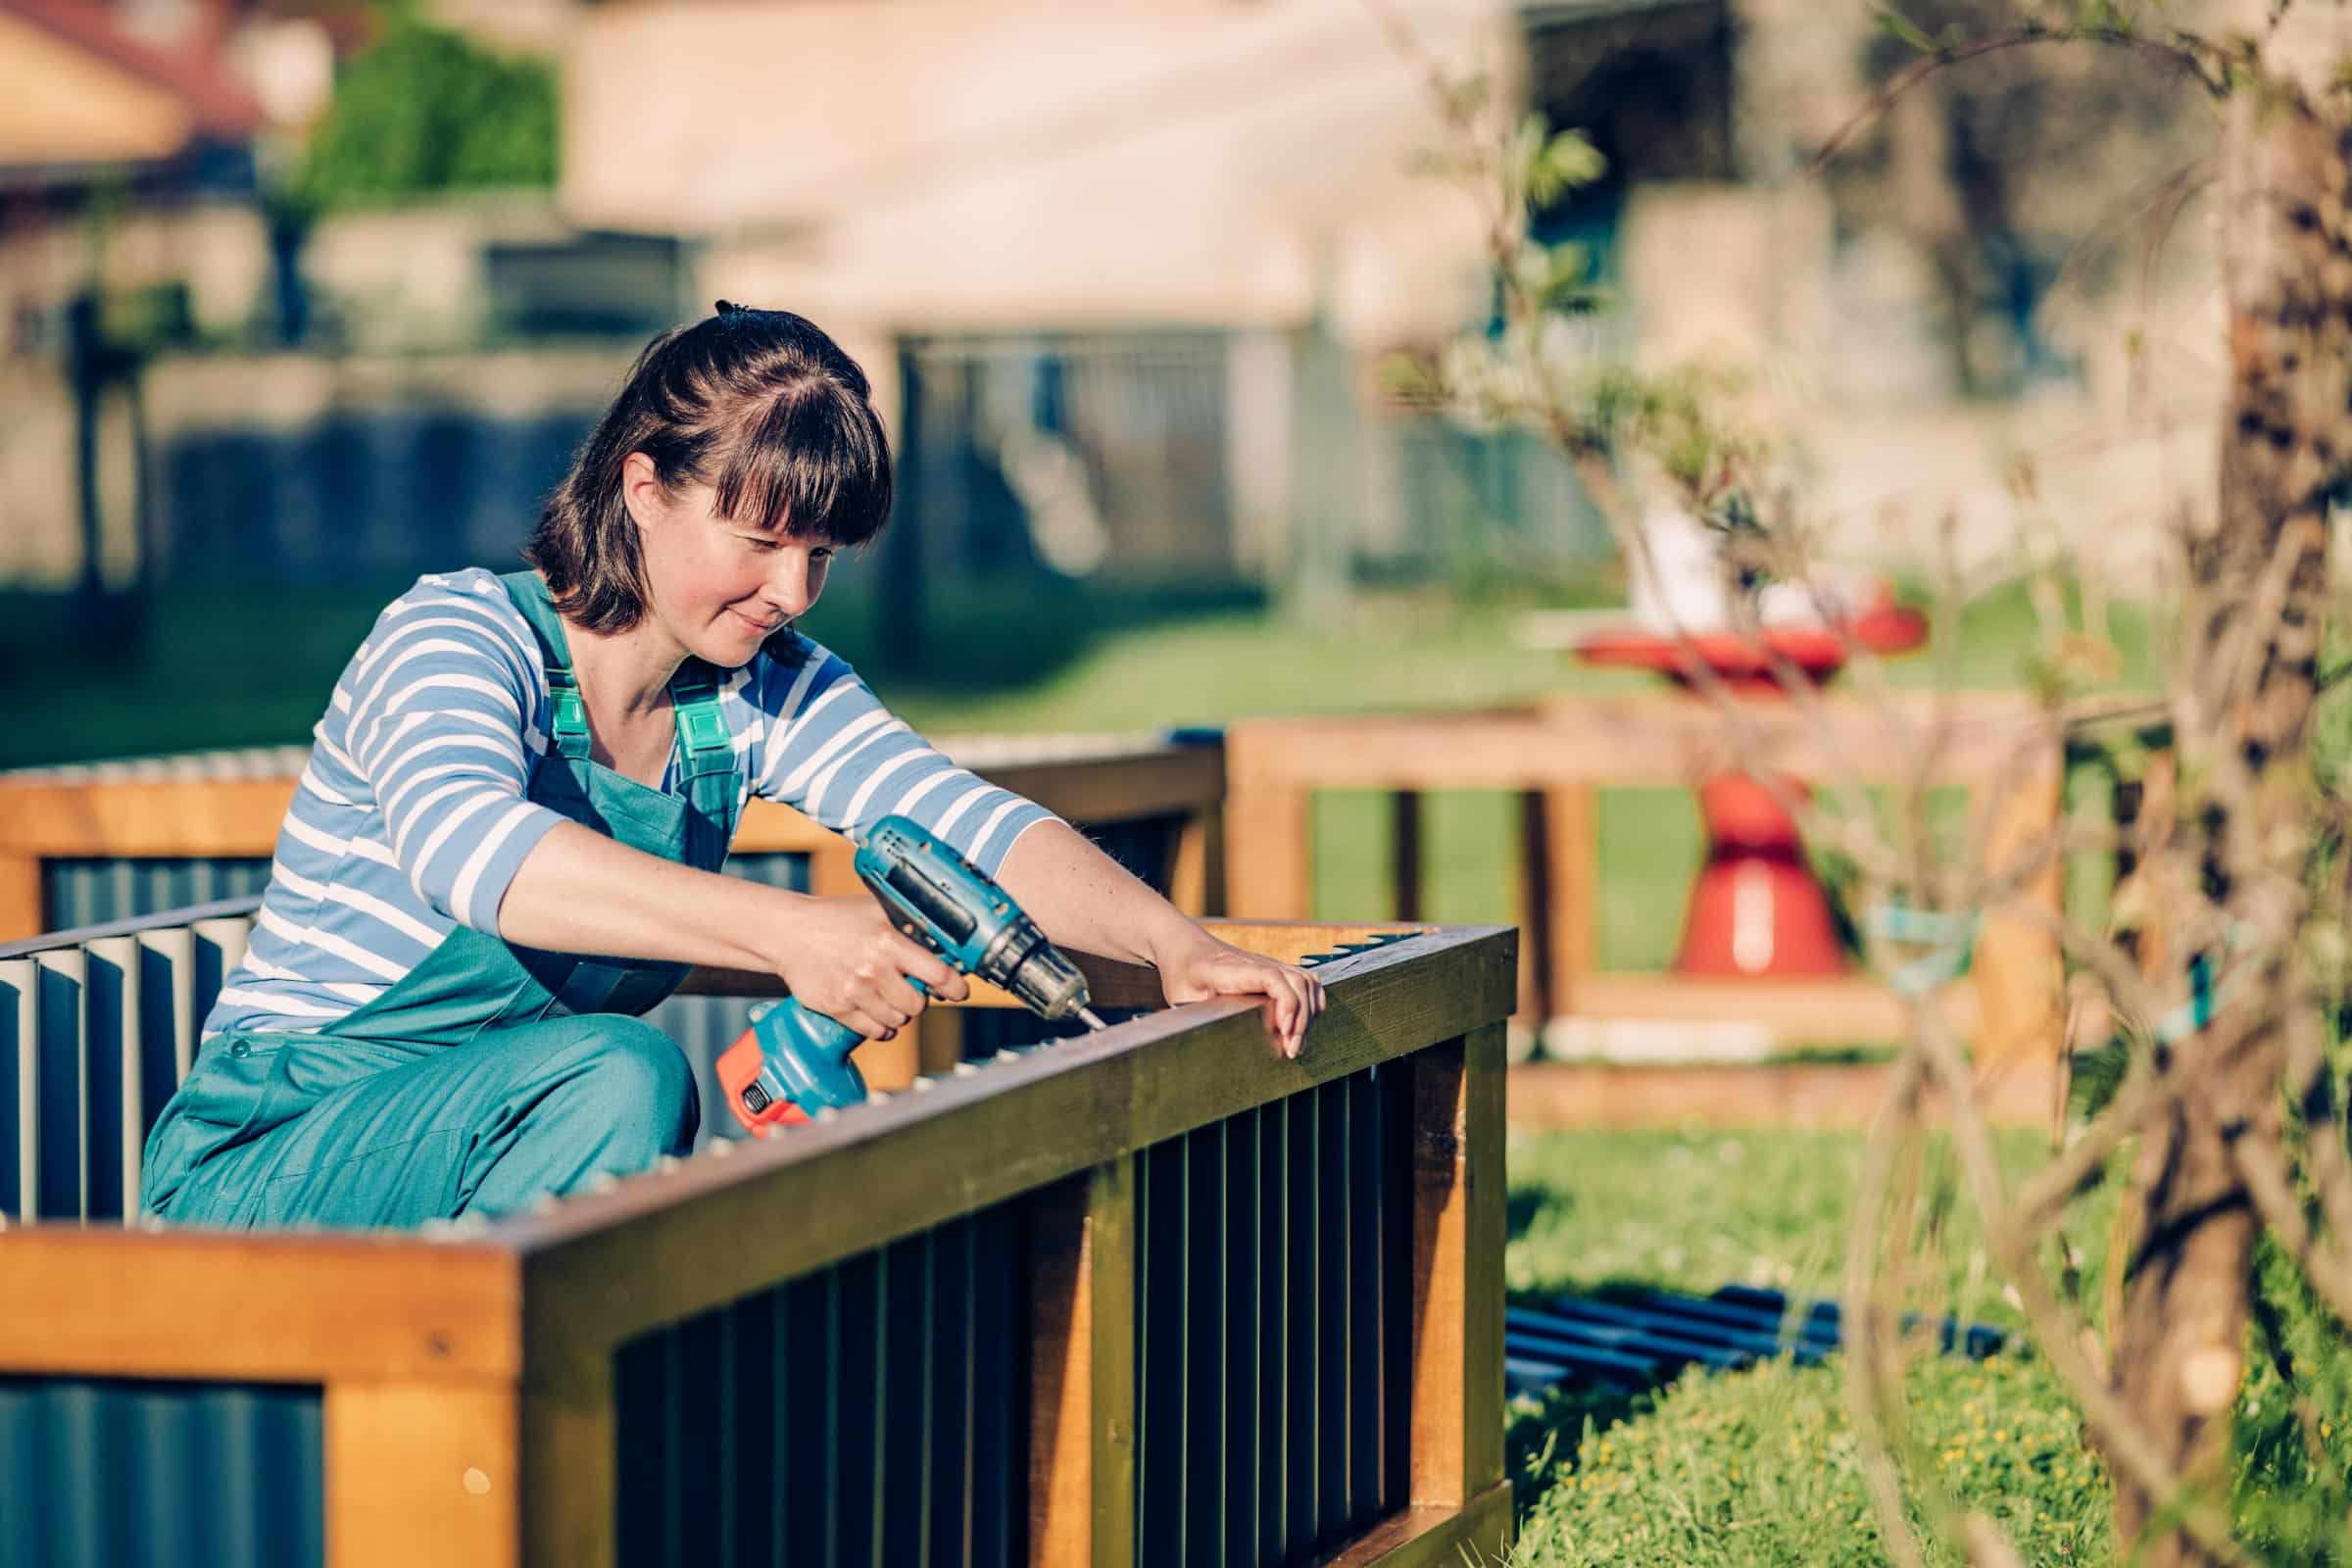
Raised garden beds are a fantastic way to grow vegetables, flowers, and herbs while keeping your garden organized and easy to maintain. Building a raised garden bed is a rewarding project that can enhance your outdoor space, whether you’re a seasoned gardener or just starting out.

Follow this step-by-step guide to create your own raised bed with high-quality materials from Do it Best!
Why Choose a Raised Garden Bed?
Raised garden beds offer numerous benefits, including:
- Improved Soil Quality: You control the soil mix, promoting healthier plant growth.
- Better Drainage: Excess water drains away more efficiently.
- Reduced Weeds: The elevated structure helps keep weeds at bay.
- Less Strain: Working at a higher level reduces back and knee pain.
- Pest Control: It’s easier to protect your plants from pests and critters.
Step 1: Gather Your Materials
Before you get started, gather the necessary tools and materials:
- Lumber: Choose rot-resistant wood like cedar or redwood.
- Power Drill: For securing the frame.
- Screws: Galvanized or coated to resist rust.
- Measuring Tape: To ensure accurate cuts.
- Saw: To cut the lumber to size.
- Level: To keep the structure balanced.
- Landscape Fabric: To prevent weeds from growing up through the soil.
- Soil Mix: A blend of topsoil, compost, and potting soil works well.
You can get all your supplies at your local Do it Best store or shop online for convenient delivery!
Step 2: Choose Your Location
Pick a sunny spot that gets at least 6-8 hours of direct sunlight daily. Make sure the area has good drainage and is easily accessible for maintenance.
Step 3: Measure And Cut The Lumber
Typical raised garden beds are 4 feet wide (so you can reach the center from either side) and 8 feet long. The height can vary, but 12-18 inches is a good range. Cut your lumber accordingly:
- 4 pieces (4 feet each) for the width.
- 4 pieces (8 feet each) for the length.
Step 4: Assemble The Frame
Lay out the boards and connect them at the corners using galvanized screws. Use the level to make sure the structure is even. Reinforce each corner with additional screws if needed.
Step 5: Prepare The Ground
Clear the area of grass and weeds. You can dig slightly into the soil to level the bed or add gravel for better drainage. Lay down landscape fabric to create a barrier against weeds.
Step 6: Position And Secure The Bed
Place the frame on your prepared ground. To stabilize the structure, you can drive stakes into the ground at the corners and secure the frame to them.
Step 7: Fill With Soil
Add your soil mix to the bed, filling it to about an inch below the top. Mix in compost or other organic matter for nutrient-rich soil.
Step 8: Plant Your Garden
Now comes the fun part: planting! Whether you’re growing vegetables, herbs, or flowers, follow spacing recommendations and water thoroughly after planting.
Step 9: Maintenance Tips
- Water Regularly: Raised beds dry out faster, so stay consistent.
- Weed Control: Keep an eye out for weeds and remove them promptly.
- Fertilize: Add compost or fertilizer as needed to keep plants healthy.
Get Started On Your Spring Garden With Do it Best!
Ready to build your own raised garden bed? Visit your nearest Do it Best store or shop online for everything you need to complete your project. From durable lumber to quality tools, we’ve got you covered.
You May Be Interested In:

DIY Landscaping Tips: Beautify Your Yard with Do it Best
2 weeks ago by Witt Do it Best

Seasonal Maintenance Checklist: Keep Your Home in Top Shape with Do it Best
3 months ago by Witt Do it Best

Crafting With Kids: 5 Fun And Educational DIY Projects
4 months ago by Witt Do it Best

Winter Prep 101: Essential Supplies for Home Winterization
6 months ago by Witt Do it Best